 CamHold
Lighting for video calls: fix it with what you have at home
Window, lamps, glasses glare and camera height: how to fix your lighting for video calls without buying anything, plus the free settings in macOS and apps.
Good lighting for video calls at home comes down to one rule: the main light goes in front of you, from a window or a lamp, and nothing bright sits behind you. Most dark, silhouette-style video comes from a window behind the chair. You can fix it by moving the desk and using what is already in the room, no ring light required.
Lighting for video calls starts with the window
Daylight is the most flattering light you have, and it costs nothing. What matters is where it hits you.
- Facing the window, or slightly off to one side: your face is lit evenly.
- Back to the window: the camera sets its exposure for the much brighter background and your face goes dark. This is the most common mistake.
- Window on one side only: it works, but half your face falls into shadow. A white wall or a sheet of paper on the other side bounces some light back and evens it out.
If you cannot move the desk, turn the chair and the screen. Daylight also moves: a great spot at 10 a.m. can be a bad one at 4 p.m. Direct sun on your face makes hard shadows; a thin curtain fixes that.
Lamps and ceiling lights
A ceiling light on its own tends to leave shadows under your eyes and nose, which reads as tired. A desk lamp behind your screen, a little above eye level, makes a big difference.
- If you can, aim the lamp at the wall or ceiling in front of you instead of straight at your face. Bounced light is softer.
- Avoid mixing warm and cool light. A warm yellow lamp next to cool daylight from a window gives your skin two colors on camera. If you have both, match the bulbs closest to you.
- If the lamp dims, start low. Too much light blows out your forehead and nose.
- At night, turn off or dim any lamp that sits behind you in the frame. A bright spot in the background makes the camera darken everything else.
Screen glare and glasses
In a dark room the only light on your face is the screen, which makes your skin look blue and flat. If you wear glasses, the screen also shows up in your lenses. Any light from the front, even a weak one, helps both, because the screen stops being the main source.
For glare on glasses, move the lamp out of your line of sight, a little to the side and higher. Turning down the screen brightness also cuts the reflection in your lenses.
Camera height
The Mac camera sits at the top of the screen, and a laptop on a desk sits low. So the camera looks up at you, with your chin in front and the ceiling behind, usually the darkest part of the room. Stack a few books under the laptop until the camera is at eye level or slightly above. With an external webcam on a Mac the same applies: centered and at eye level. Posture, eye line and framing get their own guide in how to look attentive on camera.
Free low-light settings in macOS and your call app
When you cannot change the light, software can make up some of the difference. None of these replaces real light on your face, but they are all free:
| Where | What it does | Where to find it |
|---|---|---|
| macOS Studio Light | Brightens your face and dims the background; Apple suggests it for backlit scenes like sitting in front of a window | Video menu in the menu bar during a call (macOS Sonoma or later) |
| Zoom | Adjust for low light, Auto or Manual | Desktop app settings, Video & effects tab |
| Google Meet | Adjust video lighting, automatic | More options › Backgrounds and effects › Appearance |
| Microsoft Teams | Adjust brightness for low light | Teams settings, Devices |
Studio Light works on Mac laptops with Apple silicon using the built-in camera, or with an iPhone 12 or later as the camera. Google notes that Meet's light adjustment may slow down your computer. I covered each macOS effect in macOS video effects in calls. If the problem is what sits behind you, the fix is blur or framing, as in how to hide a messy room on a video call.
Why light matters for a believable Loop
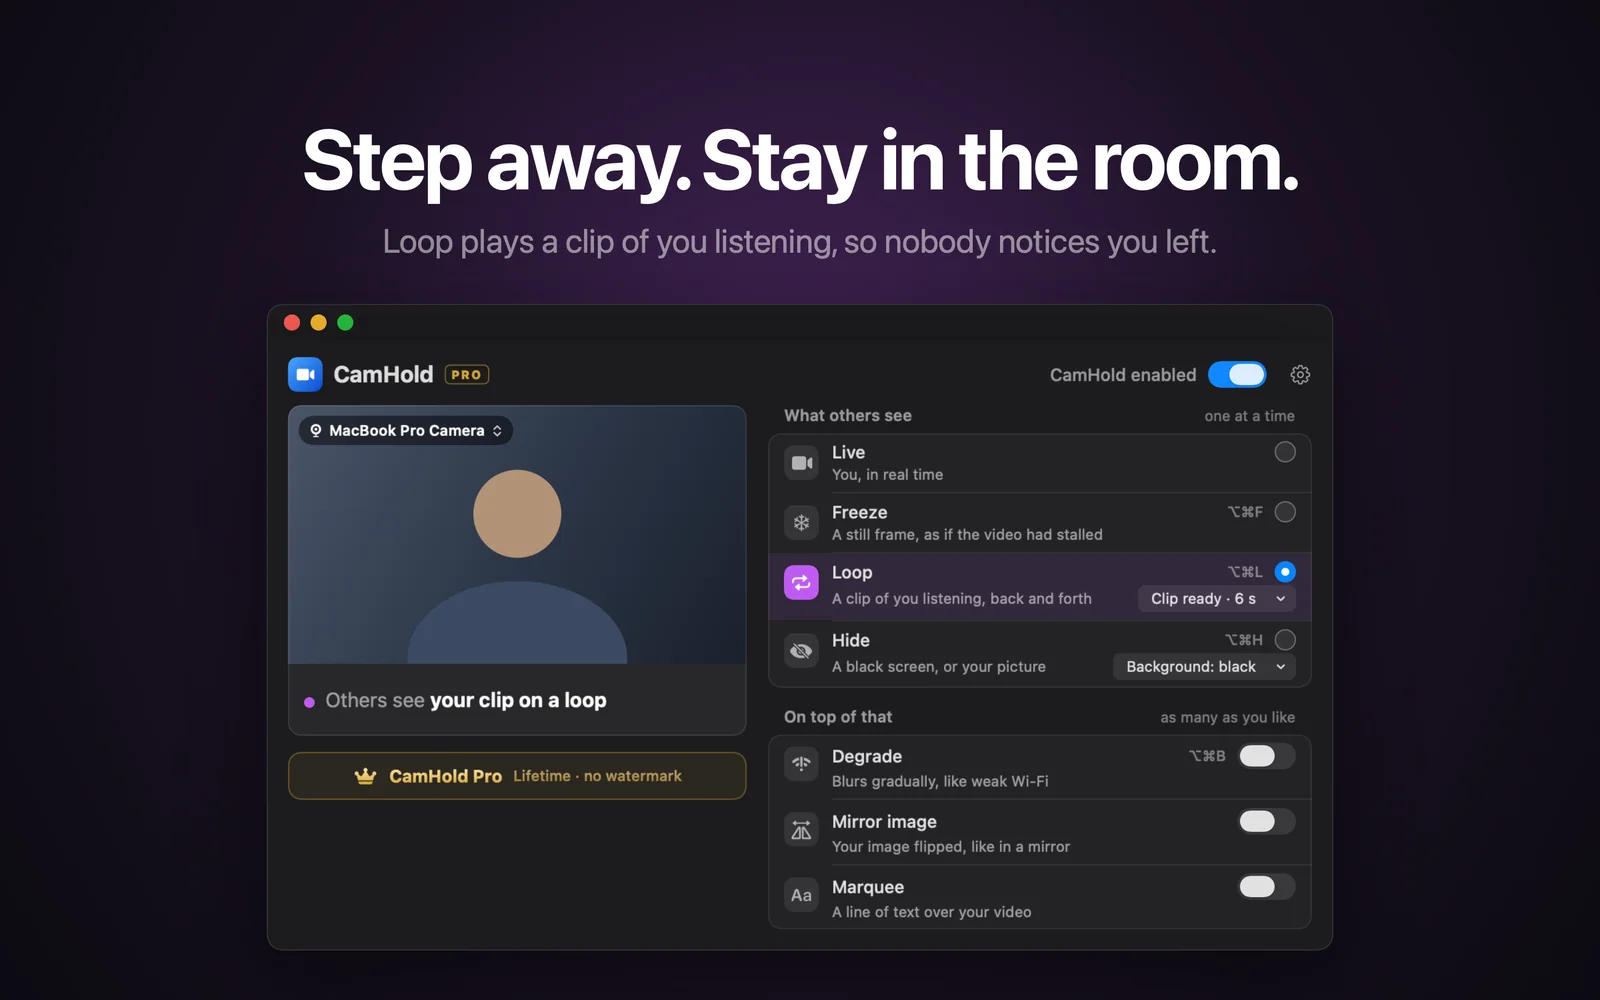
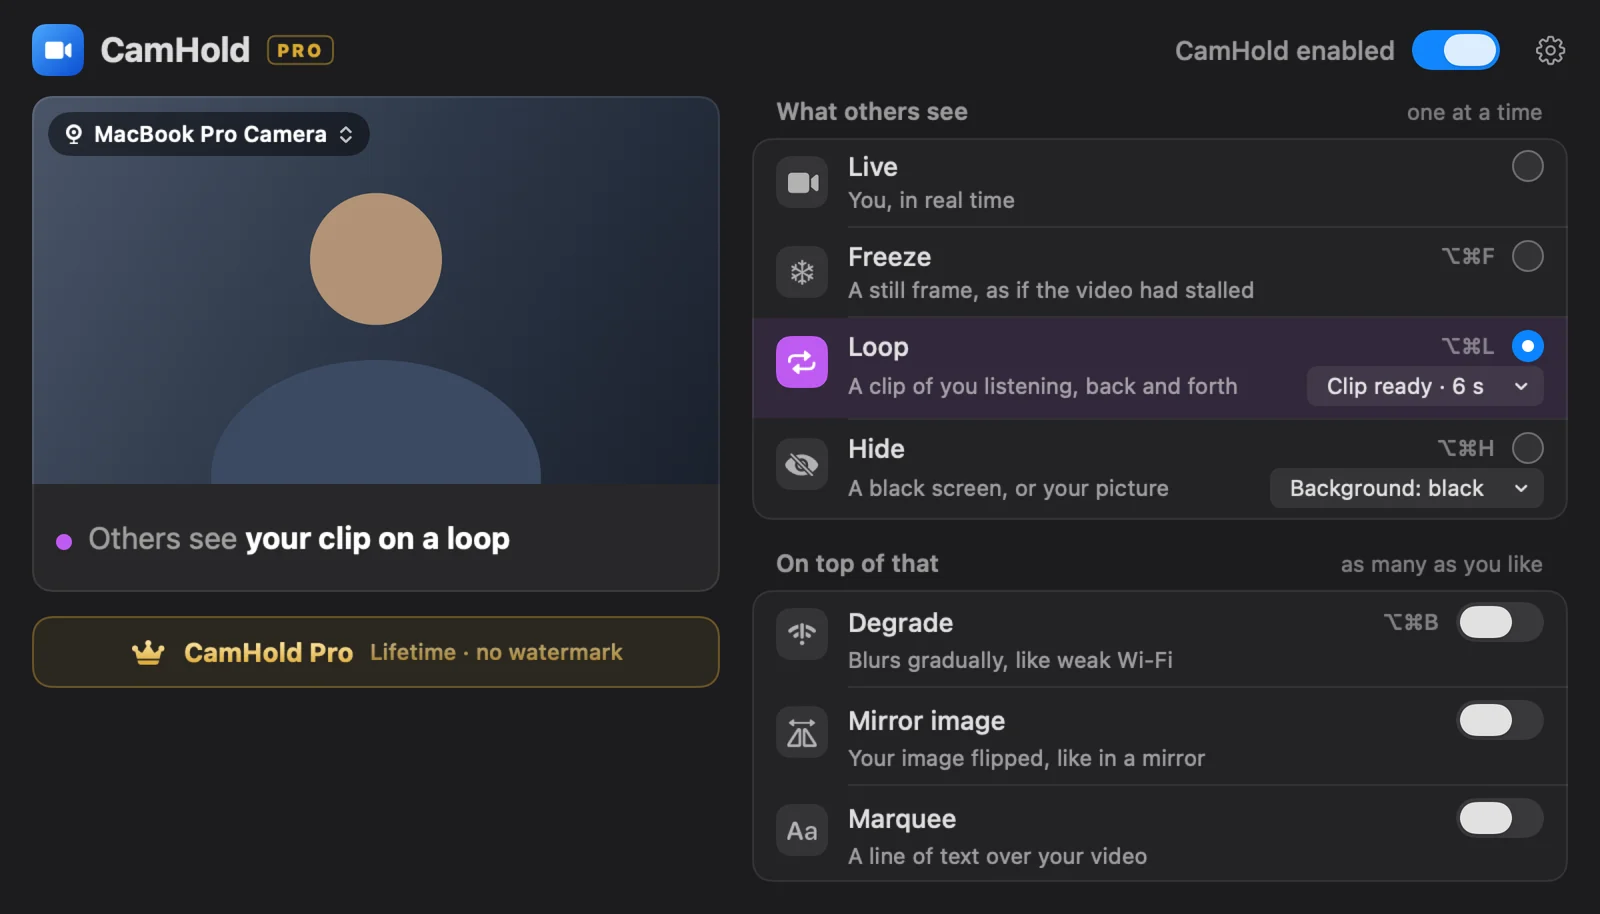
Loop in CamHold, the virtual camera I make for the Mac, plays a short clip of you listening, up to 8 seconds, back and forth. It only goes unnoticed if the clip looks like the call you are in right now, and light is what gives it away first.
- Record under the light you will have on the call. A clip recorded in the morning with sun in the window and played in the late afternoon in a darker room shows up as a jump in color when Loop starts and again when you go back to live.
- Keep the light steady. The clip does not follow the room. If the sun goes behind a cloud or you switch on a lamp mid-meeting, the Loop picture keeps the old light.
- Light your face well. In low light the camera picture gets grainy and smeared on movement, and the back-and-forth becomes easier to spot.
Once the light is right, press ⇧⌥⌘L to record a new clip; there is a 3 second countdown before it starts. The full walkthrough is in how to loop a video of yourself on Zoom.
Checklist before a meeting
- Window in front or to the side, never behind.
- One soft light slightly above eye level, nothing bright in the background.
- Camera at eye level.
- Check your picture before joining, in the app's preview screen or in Photo Booth.
- Using Loop? Record the clip in that same light.
Quick answers
Do I need a ring light? For work calls, rarely. A window in front of you and a well-placed lamp cover most cases. A ring light makes more sense if you spend evenings on calls in a room with no window.
Is screen light enough? Only as a last resort. It is cold and flat, and any light from the front improves it.
I fixed the light and the video is still grainy. Now what? Then the limit may be the camera itself. An external webcam or an iPhone used as the Mac's camera are the usual next steps.