 CamHold
How to use an external webcam on a Mac, even with the lid closed
Plug a USB webcam into your Mac, pick it in Zoom, Meet, Teams and FaceTime, use it with the MacBook lid closed, and fix it when the Mac does not detect it.
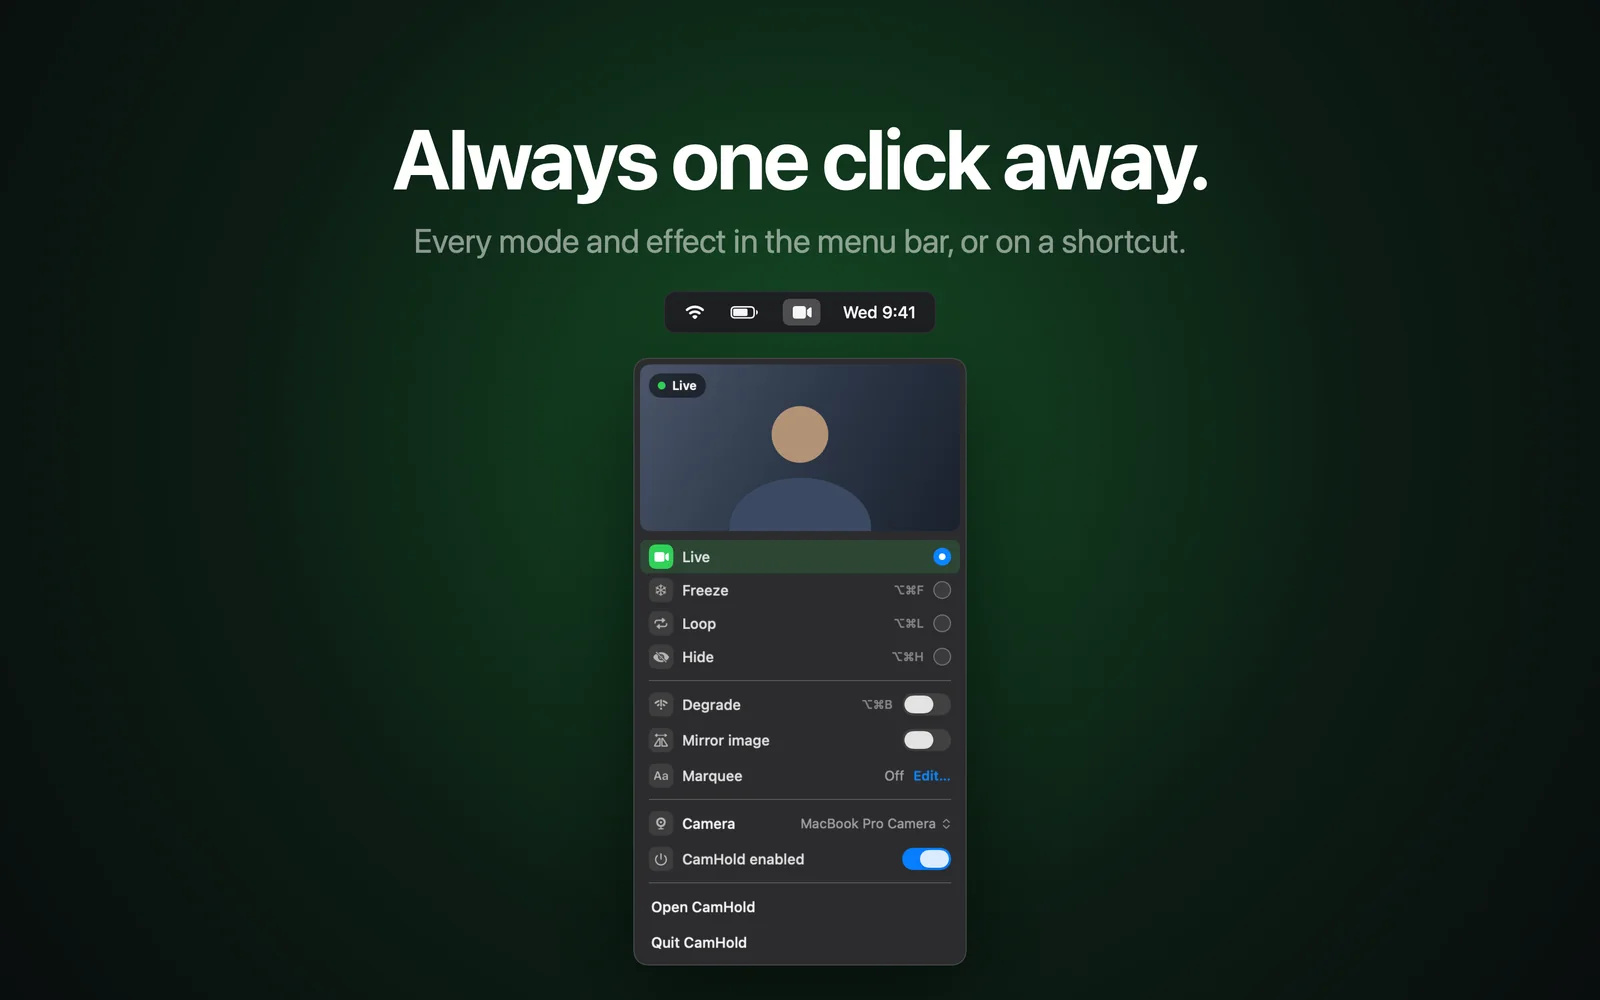
To use an external webcam on a Mac, plug it in and choose it inside the app you are calling from. Most USB webcams work without installing anything. The catch is that each app keeps its own camera choice, which is how people plug in a nice webcam and keep showing up through the laptop's built-in one.
Plugging it in
Apple's version is short: connect the camera with the right cable, or wirelessly if the camera supports it, then choose the camera in the app that will use the video.
If your Mac only has USB-C ports and the webcam is USB-A, an adapter or hub does the job. For the first test, plug straight into the Mac. If it works there and fails through the hub, the hub is the problem.
To check without joining a meeting, open Photo Booth and look at the Camera menu, or open FaceTime and look at the Video menu. The new webcam should be in the list, and you can select it right there.
Where to pick the camera in each app
| App | Where to switch cameras |
|---|---|
| Zoom | In a meeting, the arrow next to Start Video or Stop Video: pick a camera from the list, or open Video Settings and use the Camera drop-down. Outside a meeting, the video section of the app's settings |
| Google Meet | In a meeting, the arrow next to the camera button. Before one, on meet.google.com, Settings › Video › Camera |
| Microsoft Teams | Settings and more (the three dots) › Settings › Devices, then choose the camera from the drop-down |
| FaceTime | The Video menu in the menu bar |
Labels shift between versions. If yours look different, look for "video" or "devices" in the app's settings.
Two things to watch. FaceTime has an Automatic Camera Selection option in the same Video menu that picks based on which cameras are connected and which one you used last, so with it on, FaceTime may switch cameras on its own. If you always want the webcam, select it directly in the list. And Meet runs in the browser, so the choice is remembered by that browser. Switch between Chrome and Safari and you will pick it again.
Using an external webcam with the MacBook lid closed
You can work with the laptop closed and connected to a display. Apple's requirement for a closed lid: the Mac has to be on power and using an external keyboard and mouse.
That setup is where an external webcam stops being optional, since the built-in camera is covered by the lid. Put the webcam on top of the display and pick it in the call app as in the table above. How many displays your Mac can drive depends on the chip, and Apple lists it in each model's tech specs.
If the display stays dark with the lid closed, Apple suggests checking that the cables are secure at both ends and reconnecting the display. In System Settings › Displays, holding the Option key reveals a Detect Displays button.
When your Mac does not detect the external webcam
Work from simplest to most effort.
- Quit and reopen the call app. Some apps only list a new camera after a relaunch. For calls in the browser, quit the whole browser.
- Try another port and cable. Plug straight into the Mac, no hub, and swap the cable if the webcam's is detachable.
- Close whatever might be using the camera. Zoom's own troubleshooting says to close other camera apps, other calls and websites with the camera on before trying again.
- Check camera permission. In System Settings › Privacy & Security › Camera, the call app (or your browser) has to be switched on. I go through each case in camera permissions on a Mac.
- Restart the Mac with the webcam connected.
If the webcam shows up in Photo Booth and FaceTime and only Zoom is missing it, the problem is on Zoom's side, and Mac camera not working in Zoom goes through the causes one by one.
If it does not show up in any app, open the System Report (System Settings › General › About) and look for the webcam under USB. If it is not there either, the Mac is not seeing the device at all: try it on another computer. If it fails there too, the webcam is at fault. Some models come with the maker's own software for extra settings, and the maker's site is the place to check macOS support.
Your iPhone can be the external webcam
If what you want is a better picture than the laptop's without buying anything, the Mac can use an iPhone as an external camera through Continuity Camera. Requirements and setup are in how to use your iPhone as a webcam on a Mac.
Using an external webcam with CamHold
CamHold is the virtual camera I make for the Mac, and it takes any camera your Mac can see as its source: the built-in one, a USB webcam or an iPhone. You choose the webcam in CamHold's camera picker in the menu bar, and in the call you choose "CamHold" as the camera, once. From then on you can freeze the picture, loop a short clip of yourself or hide the video with a shortcut, as I describe in how to freeze your camera on Zoom, Google Meet and Teams. What a virtual camera is and how it shows up in apps is covered in virtual cameras on a Mac.
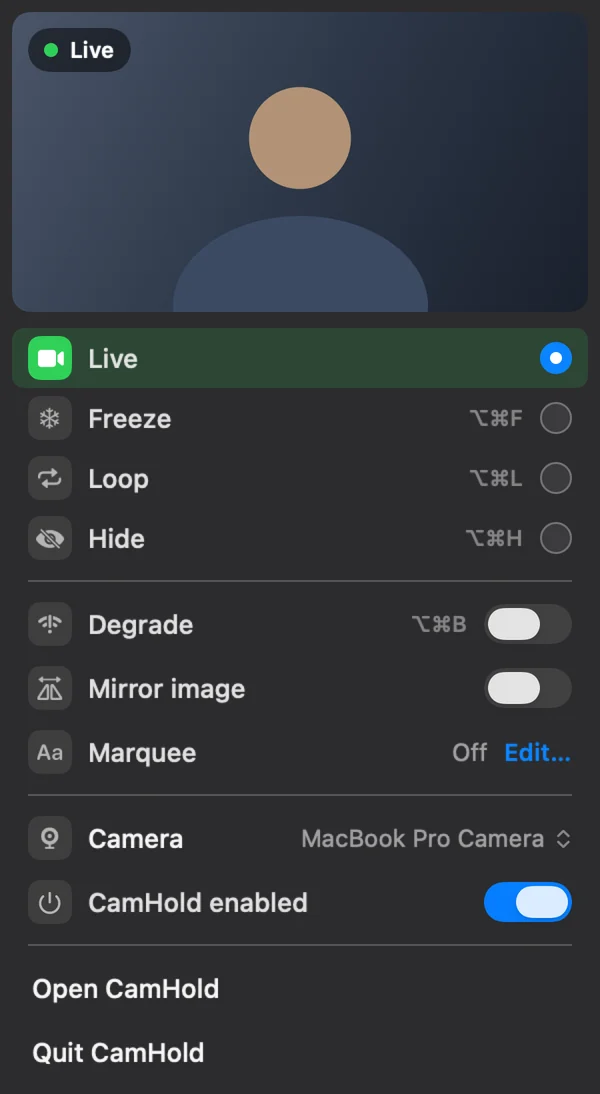
CamHold needs macOS 14 or later and is only on the Mac App Store. The free version has every mode and adds a small "CamHold — free" mark to the video; Pro is a one-time purchase that removes the mark and unlocks Marquee. If you only want your webcam for ordinary calls, you do not need it.
Quick answers
Do I need a driver? For most ordinary USB webcams, no. The Mac recognizes them on its own. Some models have maker software for extra settings like focus and exposure.
Will the Mac switch to the external webcam by itself? It depends on the app. Some move to the new camera, others stay on the last one used. Check the camera picker before you join.
Can I use two cameras at once? As your video in a call, one at a time. Zoom has an option in the advanced screen-sharing choices to share a second camera's feed, which is handy for showing paper on your desk or an object.