 CamHold
OBS Virtual Camera on Mac: How to Set It Up for Zoom and Meet
How to install OBS on a Mac, allow its camera extension, start the virtual camera and pick it in Zoom, Meet or Teams, plus fixes for when it doesn't show up.
OBS Virtual Camera on a Mac takes whatever you build in OBS Studio (your webcam, an image, a window, several scenes) and hands it to Zoom, Meet or Teams as if it were a webcam. OBS is free and open source. Getting it working takes three steps: install OBS, allow its camera extension in macOS once, and click Start Virtual Camera.
What you need
- macOS 13 or later. That is the minimum for the current OBS release.
- OBS 30 or later. From that version on, the virtual camera works with every Mac app. OBS 29.1 and earlier do not work on macOS 14 at all, so if your copy is old, update first.
- The right installer. The OBS download page has one for Apple Silicon Macs and one for Intel Macs. If your Mac has an M1 or newer chip, take the Apple Silicon one.
Open the download and drag OBS into Applications.
How to allow the camera extension
The first time you open OBS, macOS blocks the virtual camera's extension and shows a "System Extension Blocked" prompt. Click Open System Settings. If you dismissed it, the place depends on your macOS version:
- macOS 15 or later: System Settings › General › Login Items & Extensions › Camera Extensions. Turn OBS on there.
- macOS 13 and 14: System Settings › Privacy & Security, in the Security section. Look for the message that system software from "OBS" was blocked from loading, and click Allow.
macOS asks for your password. Then quit OBS with ⌘Q and open it again. You only do this once.
The names of these screens drift a little with each macOS release. If you cannot find them, type "extensions" into the System Settings search field. I explain how macOS handles cameras and extensions in Mac camera permissions.
While you are at it, give OBS itself access to the camera. Under the OBS Studio menu › Review App Permissions, it lists what is missing: Camera, to read your webcam, and Input Monitoring, if you want OBS hotkeys to work while OBS is in the background.
How to start the OBS virtual camera
- Under Sources, click + and add a Video Capture Device. Pick your webcam. If your picture shows up in the OBS preview, you are set.
- In the Controls dock, click Start Virtual Camera. The button reads Stop Virtual Camera while it is running.
- The gear next to the button picks what goes out: Program (the default, whatever OBS is showing), one fixed scene, or a single source. A fixed scene lets you work on other scenes in OBS without the call seeing it.
OBS has to stay open during the call, because it is what generates the picture. Quit OBS and the virtual camera stops.
The virtual camera carries video only. You still choose your microphone in the call app, as usual.
How to pick it in Zoom, Meet, Teams and FaceTime
With the virtual camera running, switch the camera in your call app to OBS Virtual Camera:
- Zoom: the arrow next to the video button, or the video settings.
- Google Meet: the call settings, under video. Your browser also needs camera permission in macOS.
- Teams: the device settings, or the menu next to the camera button during a meeting.
- FaceTime: the Video menu in the menu bar.
If OBS is not in the list, quit the call app with ⌘Q and reopen it. Many apps only look for cameras at launch. For Meet, that means quitting the whole browser, not just closing the tab.
Common problems
OBS Virtual Camera does not show up anywhere. Almost always the extension was not allowed, or OBS was not reopened afterwards. Check Camera Extensions (or the notice in Privacy & Security on macOS 13 and 14), reopen OBS, and make sure the button says Stop Virtual Camera. There is a more general checklist in virtual cameras on a Mac.
It shows up, but the picture is black. Look at the OBS preview. If the preview is black too, the problem is the source: OBS without camera permission, or another app holding the webcam. If OBS shows your picture and the call does not, stop and start the virtual camera, then select it again in the call app.
It stopped working after a macOS update. Go back to Camera Extensions, check that OBS is still on, and update OBS to the latest version. Right after a new macOS comes out, the OBS forums tend to fill with reports that only a new OBS release fixes.
Your picture looks mirrored in the call. Zoom and other apps mirror your own preview, but everyone else sees it the right way round. Text that looks backwards to you reads correctly for them. More on that in Mac camera mirrored.
You want to remove it. On macOS 13 or later, uninstalling OBS removes the virtual camera with it.
If your webcam does not work even without OBS in the middle, the problem is elsewhere, and Mac camera not working in Zoom covers the usual causes.
When OBS is overkill
OBS is built for recording and live streaming. It shines when you want to combine sources, like your camera in a corner with your screen beside it, switch layouts mid-presentation, or stream.
Plenty of people install it for something much smaller: holding a still picture for a minute, playing a clip of yourself on a loop while you answer the door, or hiding the camera without turning it off. You can build some of that in OBS with a black scene, a scene with a video of you, and hotkeys to switch between them. You also have to build it, test it and keep it working, and background hotkeys depend on that Input Monitoring permission.
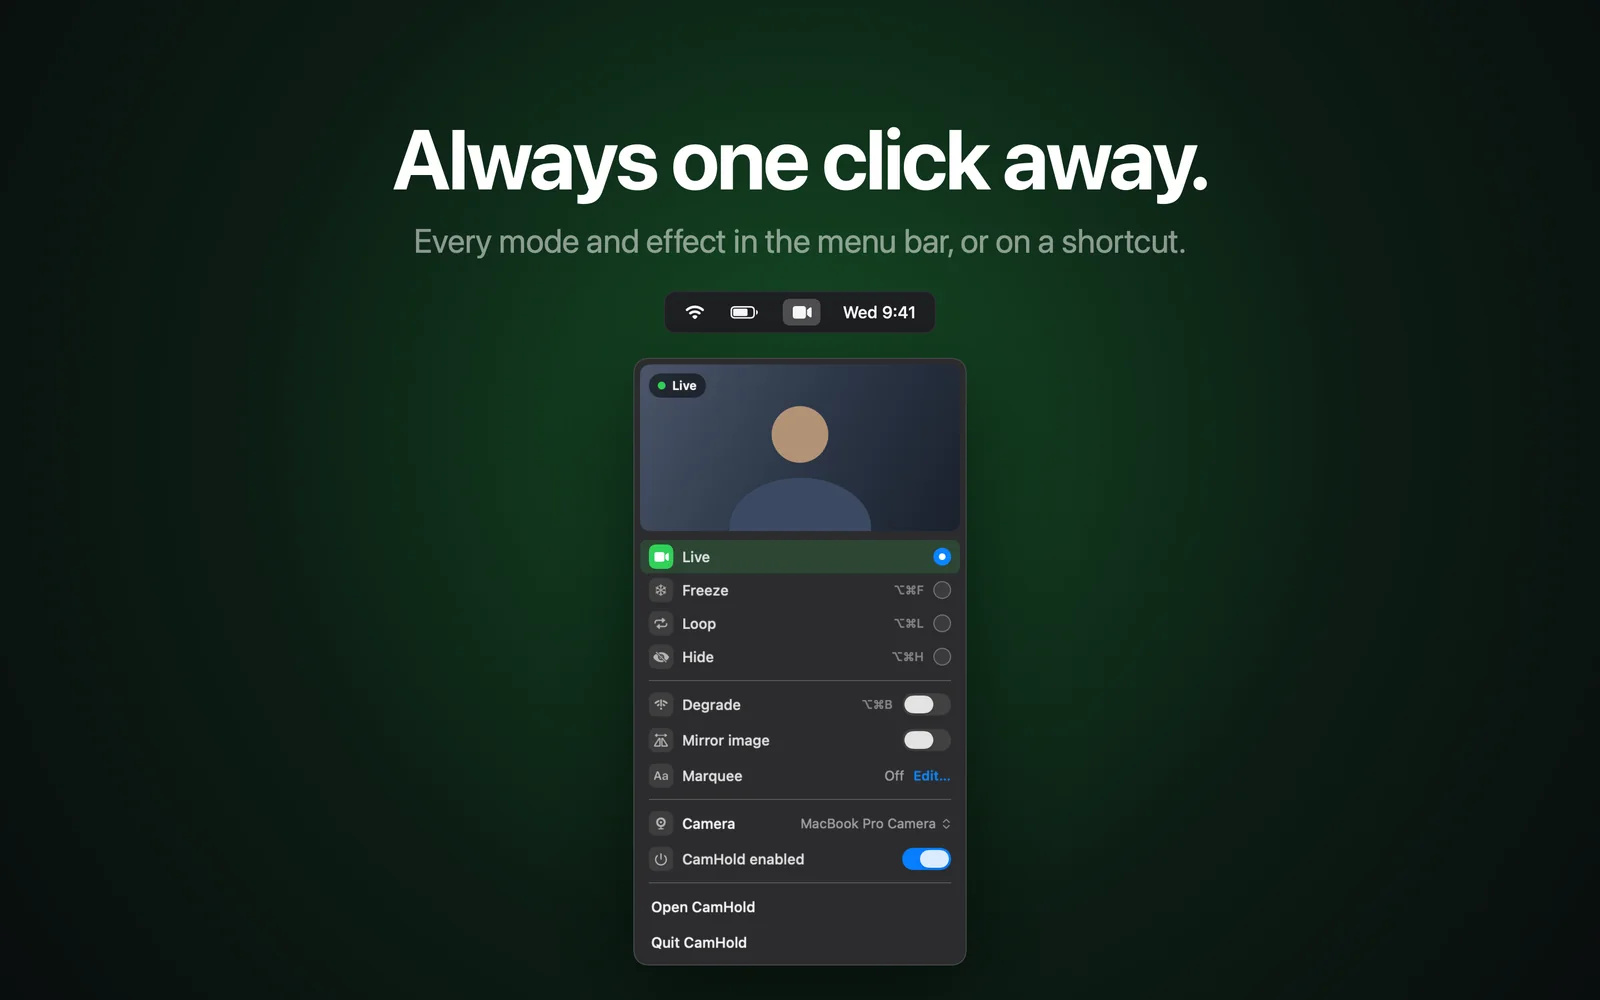
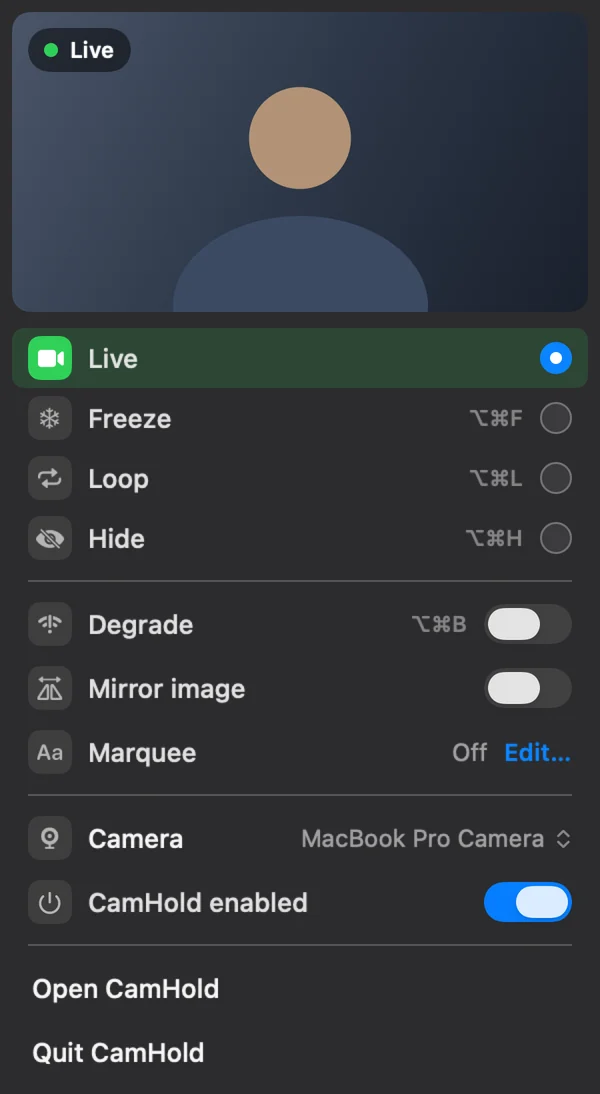
For that job, a virtual camera made for calls is less work. CamHold is the one I make: it has Freeze, Loop and Hide modes, a Degrade effect that fakes a weak connection, and a global shortcut for each. It needs macOS 14 or later, it is only on the Mac App Store, and it is free to download. The free version adds a small "CamHold — free" mark to the video, and Pro is a one-time purchase, no subscription. If you are still choosing, I compared the options in best virtual camera apps for Mac.
Quick answers
Does OBS cost anything? No. OBS Studio is free and open source.
Do I have to record or stream to use the virtual camera? No. It works on its own. Click Start Virtual Camera and that is it.
Can OBS and the call both use my webcam? They do not need to. OBS reads the webcam and the call reads the OBS virtual camera. In the call app, choose OBS Virtual Camera, not your webcam.
Can I have OBS and CamHold installed together? Yes. Each shows up as its own camera, and the call app uses one at a time.